
How to Create a Custom Map with Google My Maps in 6 Easy Steps
Whether you’re planning a road trip, organizing business locations, or collaborating on a travel itinerary with friends, Google My Maps is one of the most powerful — and underused — tools in the Google suite. It lets you build fully personalized, shareable maps complete with custom markers, routes, layers, and rich location data, all for free.
This guide walks you through creating your own custom map from scratch in just six straightforward steps.
What Is Google My Maps?
Google My Maps is a free tool from Google that allows anyone with a Google account to create, customize, and share maps. Unlike standard Google Maps, which is designed for navigation, My Maps gives you full creative control — you can add your own pins, draw shapes, plan multi-stop routes, and share the result with anyone via a link.
It’s used by travelers, educators, journalists, event planners, real estate agents, and businesses of all sizes. The best part? No technical skills are required.
Before You Begin
To get started, you’ll need:
- A Google account (free to create at google.com)
- A modern web browser (Chrome, Firefox, Safari, or Edge)
- Optionally, a list of locations you’d like to map
Once you have those ready, let’s dive in.
Step 1: Open Google My Maps
Start by navigating to mymaps.google.com in your browser. If you’re not already signed in to your Google account, you’ll be prompted to do so.
Once you’re on the My Maps homepage, you’ll see any maps you’ve previously created (or an empty dashboard if this is your first time). Click the large “+ Create a New Map” button in the top-left corner.
A new tab will open with a blank map canvas — this is your workspace. You’ll notice a panel on the left side of the screen where you’ll manage all your map’s content, and the familiar Google Maps view on the right where everything comes to life visually.
Pro Tip: You can also access My Maps directly from Google Drive by clicking New → More → Google My Maps.
Step 2: Name Your Map and Add a Description
The first thing you should do is give your map a meaningful name. Click on the default title “Untitled map” at the top of the left panel. A dialog box will appear where you can enter:
- Map title — Make it descriptive, such as “European Vacation 2025” or “Best Coffee Shops in Austin”
- Description — Optionally add context about what the map contains or who it’s for
Click Save when you’re done. A clear, descriptive title is especially important if you plan to share your map with others or come back to it later.
Step 3: Add and Customize Layers
One of My Maps’ most powerful features is layers — think of them like transparent sheets stacked on top of each other, each containing different types of information.
By default, your map starts with one layer called “Untitled layer.” You can:
- Rename a layer by clicking its name in the left panel
- Add a new layer by clicking “Add layer” at the bottom of the panel
- Toggle layers on or off using the checkboxes next to each layer name
- Delete a layer by clicking the three-dot menu (⋮) next to it
Layers are ideal for organizing your map logically. For example, if you’re mapping a city trip, you might create separate layers for Hotels, Restaurants, and Attractions. This keeps things visually clean and lets viewers focus on what’s most relevant to them.
Step 4: Add Markers, Lines, and Shapes
Now for the fun part — actually populating your map with content. My Maps offers three main types of drawing tools, accessible from the toolbar just below the search bar at the top of the map:
Adding Markers (Pins)
Click the marker tool (the pin icon) and then click anywhere on the map to drop a pin. A dialog box will appear where you can:
- Name the location
- Add a description or notes
- Upload photos or videos
- Customize the icon style, color, and shape
You can also use the search bar at the top to find a specific address or place name — just search for it and click “Add to map” to pin it automatically with the correct coordinates.
Drawing Lines and Routes
Select the line tool (the curved line icon) to draw paths between points. This is great for mapping a hiking trail, a driving route, or a travel itinerary. Click on the map to set each waypoint and double-click to finish the line. You can then style the line with different colors and widths.
Drawing Shapes and Polygons
The shape tool lets you draw polygons to highlight regions, neighborhoods, or zones. Click to set each corner of your shape and close it by clicking the starting point again.
Step 5: Customize the Look and Feel
Raw data on a map can look cluttered. My Maps lets you style everything to make your map clear, attractive, and easy to read.
Styling Individual Markers
Click any marker on the map to open its info card, then click the paint bucket icon to change its color and icon. Google My Maps offers dozens of icon options — from standard pins to symbols like restaurants, hotels, airports, cameras, and more.
Applying Uniform Styles to a Layer
You can style all markers within a layer at once by clicking the three-dot menu (⋮) next to a layer name and selecting “Individual styles” or “Uniform style.” You can also color-code pins based on a data column if you’ve imported a spreadsheet (more on that below).
Changing the Base Map
At the bottom of the left panel, click “Base map” to choose from nine different map styles, including:
- Map (standard Google Maps view)
- Satellite
- Terrain
- Light political
- Mono city
- Simple atlas
Choosing the right base map can dramatically improve readability depending on your map’s purpose.
Step 6: Share and Collaborate
Your custom map is only as useful as it is accessible. Google My Maps makes sharing simple and flexible.
Sharing via Link
Click the Share button at the top of the left panel. From here you can:
- Change the visibility — keep the map private (only you), share with specific people, or make it accessible to anyone with the link
- Copy the link to send directly to others via email, messaging apps, or social media
- Embed the map on a website using the provided HTML snippet (found under the three-dot menu at the top of the panel)
Collaborating in Real Time
If you want others to be able to edit the map, click “Change” next to the sharing settings and set their permission level to Editor. Collaborators will be able to add, move, and delete markers, just like a shared Google Doc.
Exporting Your Map
You can also export your map as a KML or KMZ file (under the three-dot menu → “Export to KML/KMZ”) to use in other mapping applications like Google Earth or ArcGIS.
Bonus: Import Data from a Spreadsheet
If you have a long list of locations — say, 50 store locations or 100 research sites — entering them manually would take forever. Instead, My Maps lets you import a CSV, Excel, or Google Sheets file directly into a layer.
To do this, click a layer’s three-dot menu and select “Import data.” Your spreadsheet should have columns for location information (like address or latitude/longitude) plus any additional fields you want to display (name, description, category, etc.). My Maps will prompt you to map the columns to the correct fields and automatically plot all your locations at once.
Final Thoughts
Google My Maps is a remarkably capable tool hiding in plain sight. In just a few minutes, you can go from a blank canvas to a rich, interactive, shareable map tailored exactly to your needs.
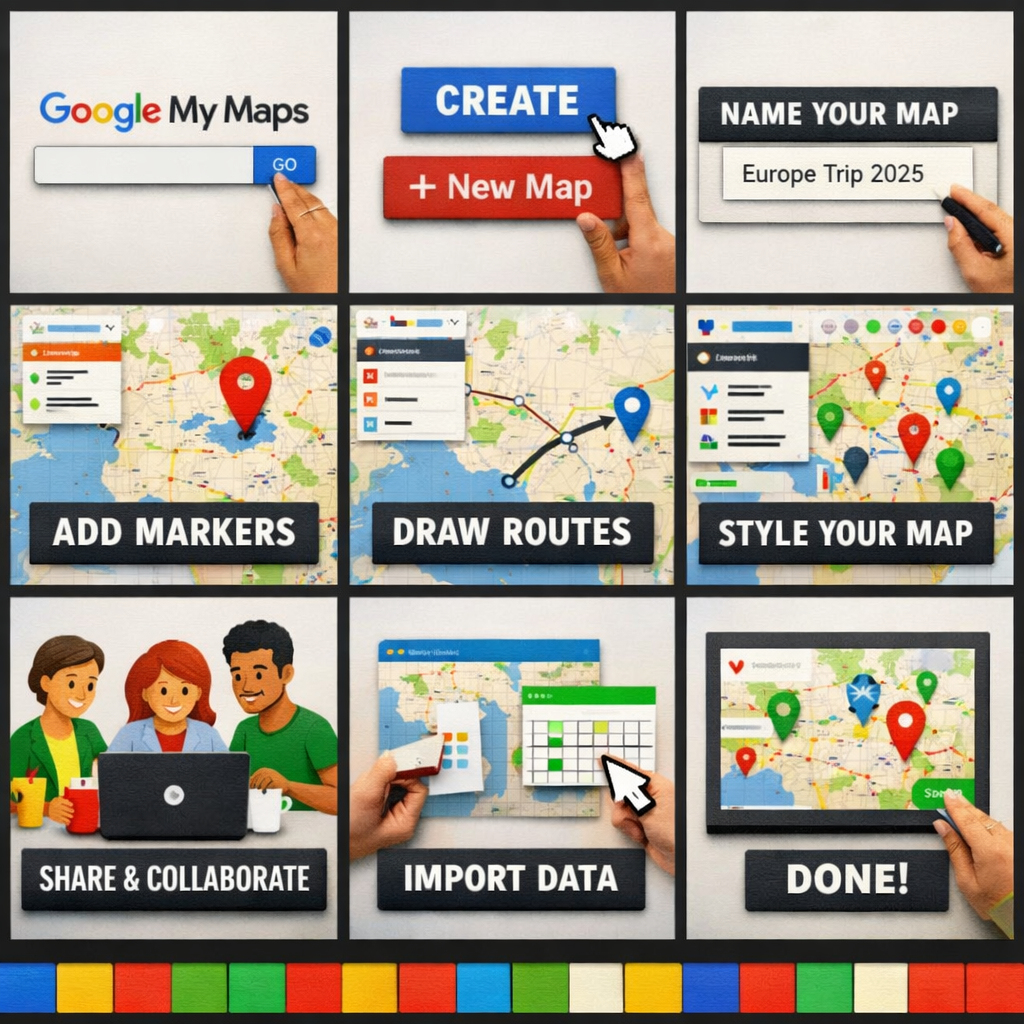
Here’s a quick recap of the six steps:
- Open Google My Maps and create a new map
- Name your map and add a description
- Organize your content using layers
- Add markers, lines, and shapes
- Customize colors, icons, and base map style
- Share your map with collaborators or the public
Whether you’re a solo traveler, a team coordinator, or a business owner, custom maps can transform how you visualize and communicate geographic information. Give it a try — your next great map is just six steps away.
Last updated: February 2026
